It’s MARCH!!! WOOHOOO!
But… it’s also been SNOWING all day. I’m ready for SPRING. I’m SO OVER indoor recess! My kids need to go outside to play! Heck… I need to go outside to play!
On another note… I just uploaded one of my favorite units. So, I’m celebrating with some fancy, fizzy water. I’ve already had like five cups of coffee and I guess it’s too early for wine?!?!
Anyway…. we’ve spent the last three weeks in my classroom focusing on point of view. As a first grade teacher, my students have to be able to identify who is telling the story at various points in a text. I also like to gear it up a bit and introduce perspective…
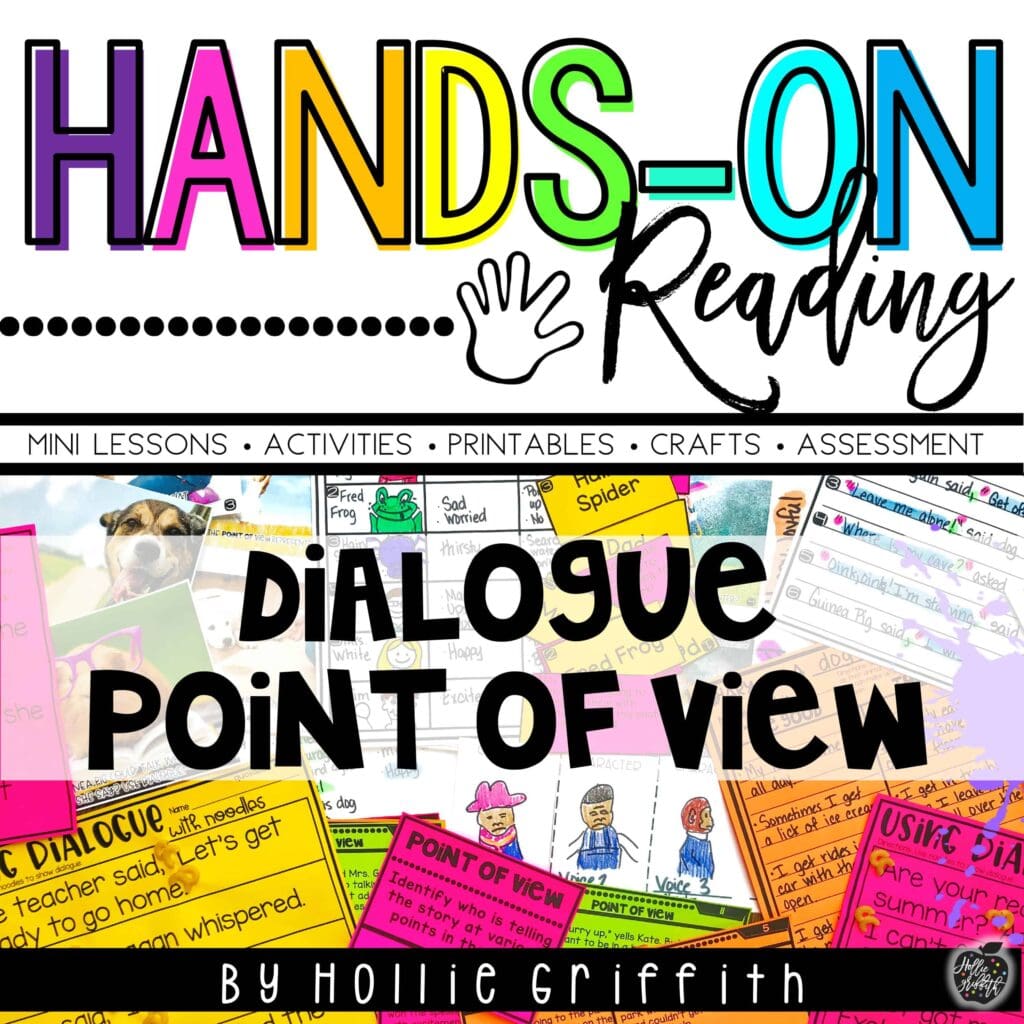
SO… now that my students have mastered point of view…. I’m ready to share EVERYTHING that is included in the unit. I’m also REALLY happy that I have everything in ONE PLACE. This will make it so much easier next year!!
Before creating lessons and activities for my students I always create a list of questions that I know my students should be able to answer by the end of the unit.. It helps guide my instruction and keep me focused on what I need my students to learn.
This unit answers all of these questions…
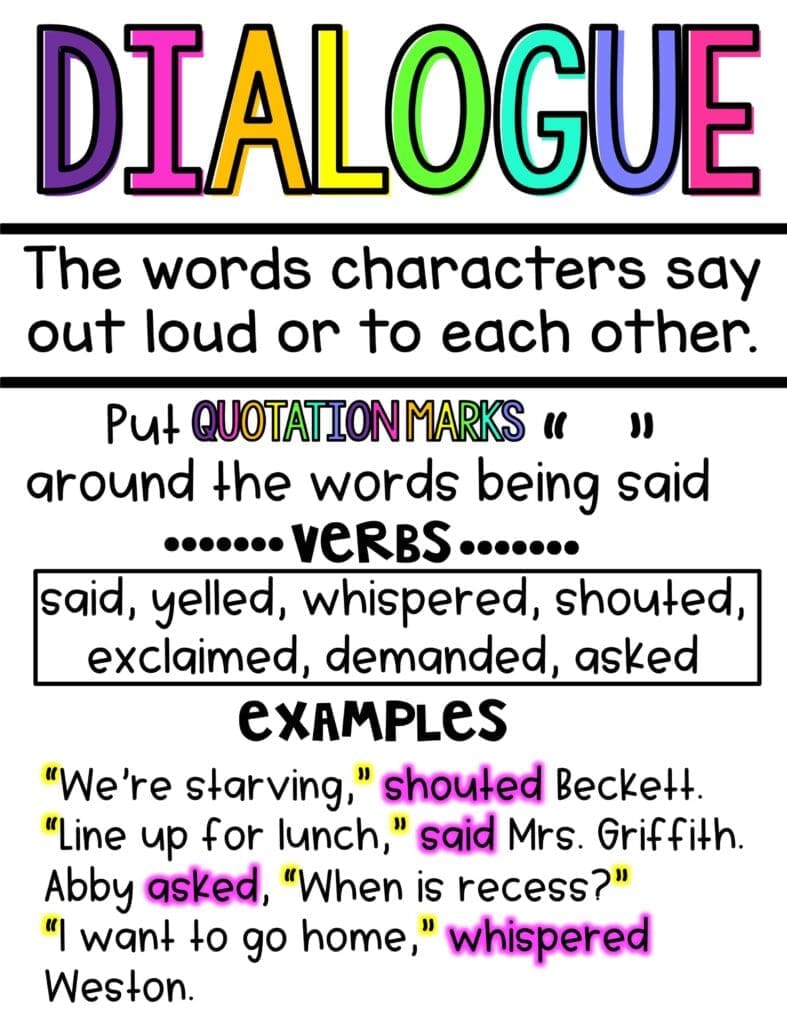
- What is dialogue?
- What does dialogue do to a story?
- Why do authors use dialogue?
- Who is telling the story at various points in the text?
- Is the narrator telling the story or is it a character?
- What is point of view?
- What is perspective?
- How does point of view impact a story?
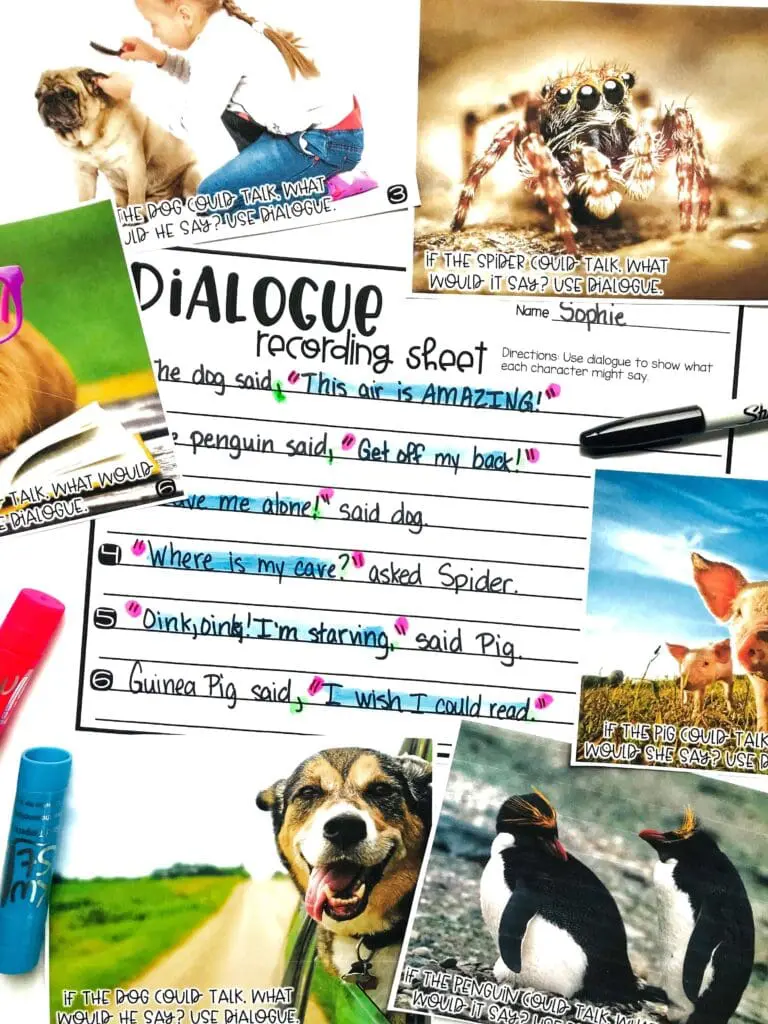
Activity 2 – I used a picture each day on a PowerPoint presentation and let my students give each character dialogue on their slates. This was perfect for morning work!! This activity is also perfect for group work… just print mini versions and let students work together.
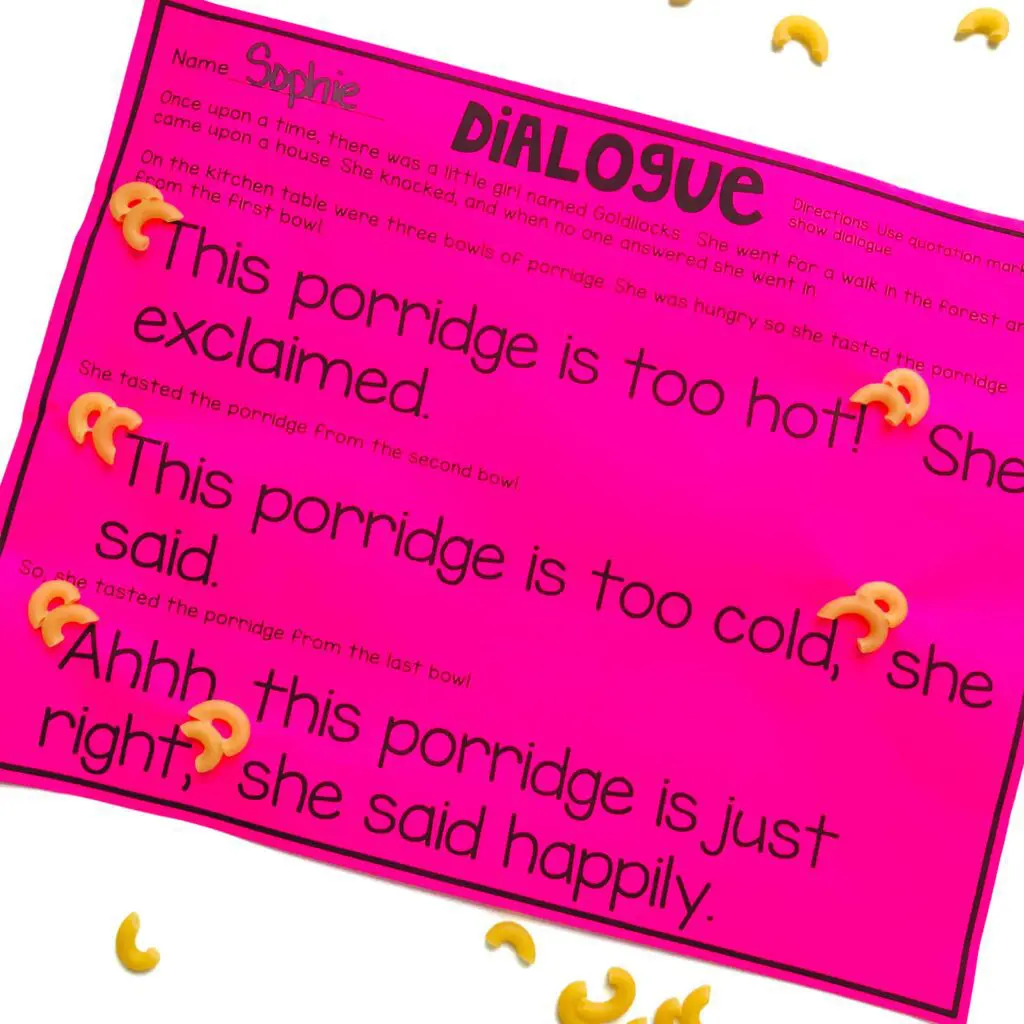
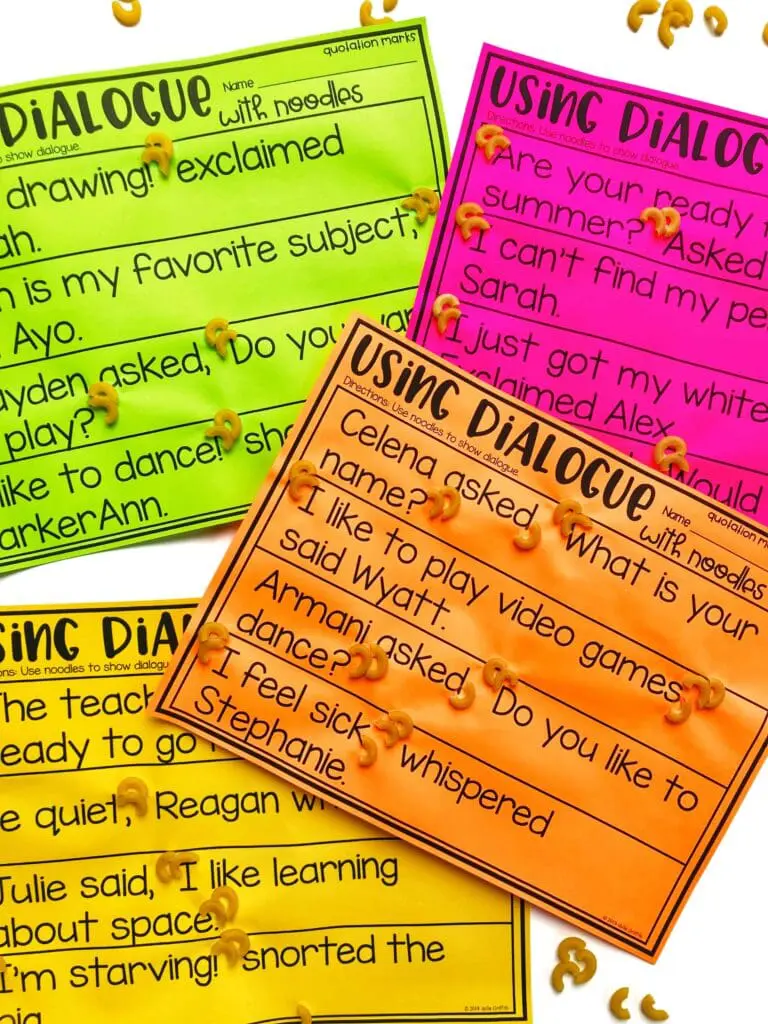
Activity 3 – Noodles for the WIN!!! I printed on cardstock and let students add noodles to represent the quotation marks and commas. This was a perfect warm up activity for my guided reading groups.
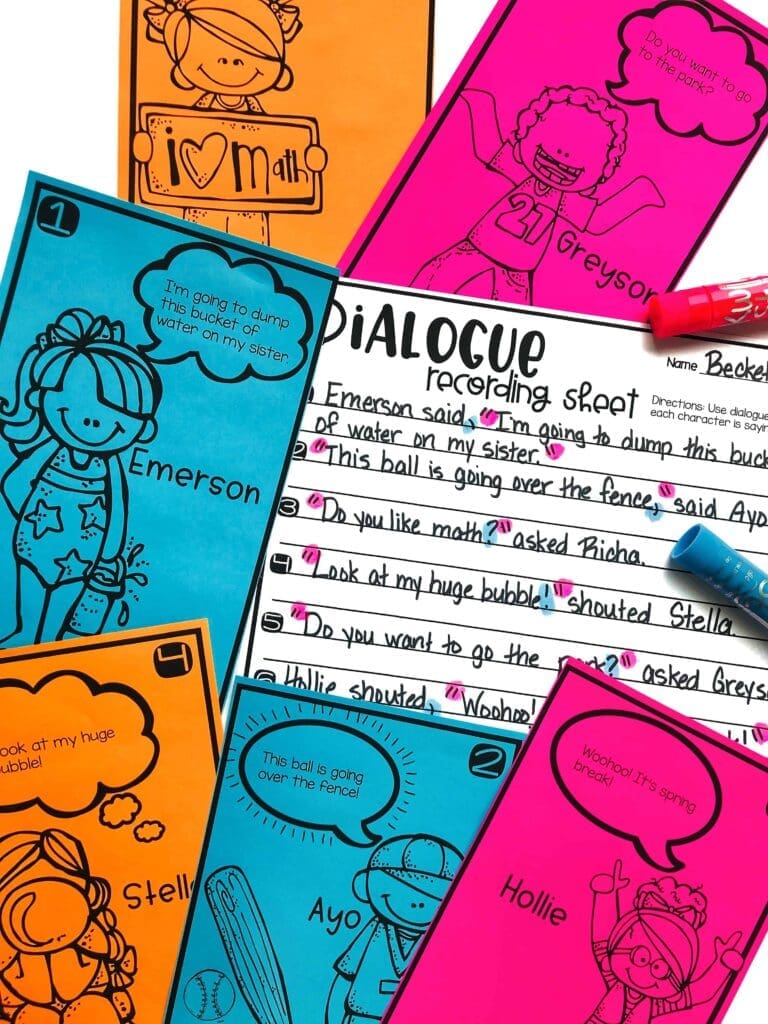
Activity 4 was created to be a Write the Room activity…. but I used it as a literacy station. Students worked with partners to write dialogue for each person.
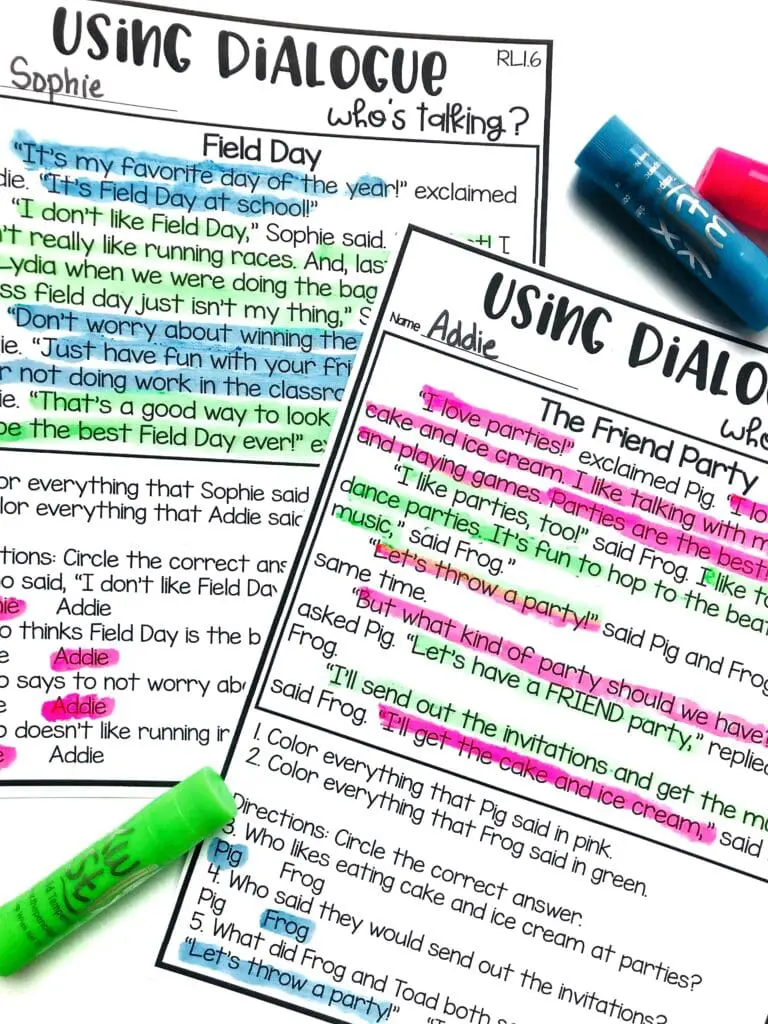
Activity 5 – I used these practice sheets throughout the first week… Adding Kwikstix paints always makes a worksheet a little funner!
Once my students master dialogue we move on to point of view…
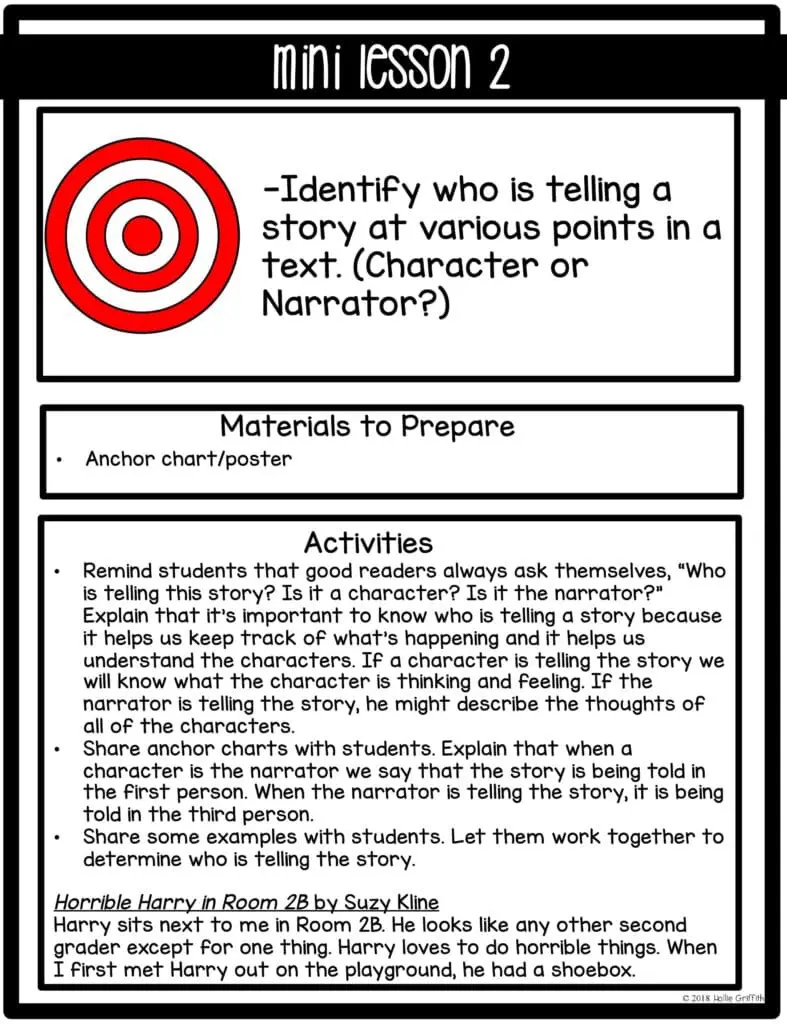
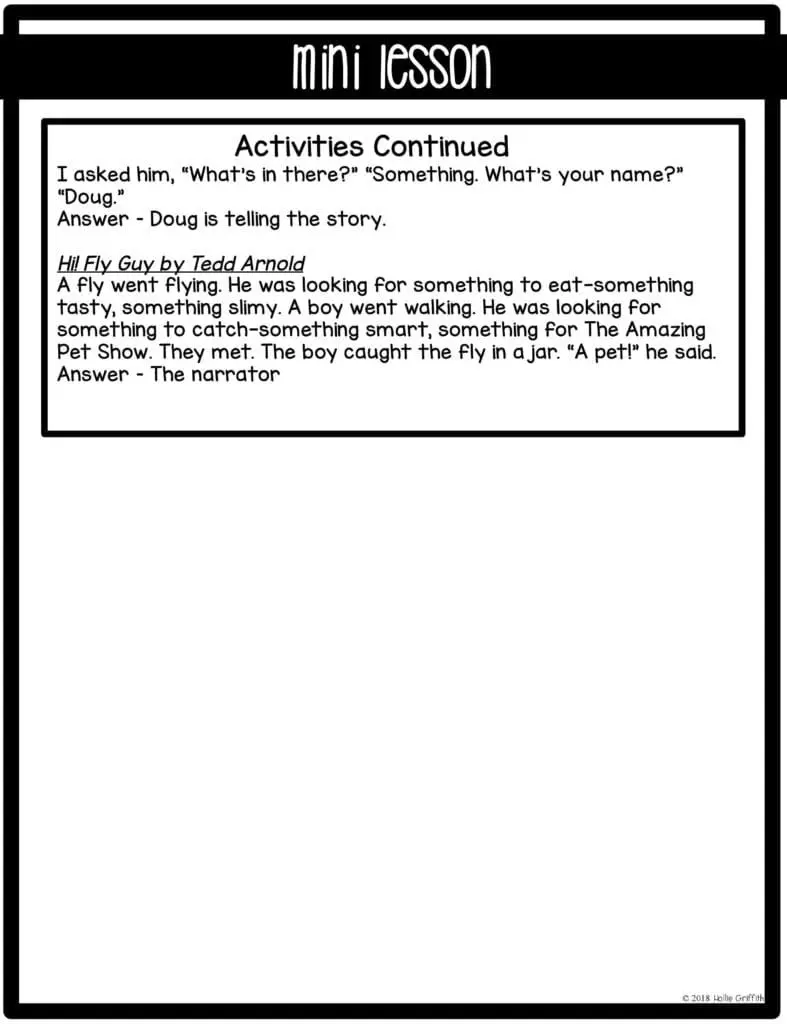
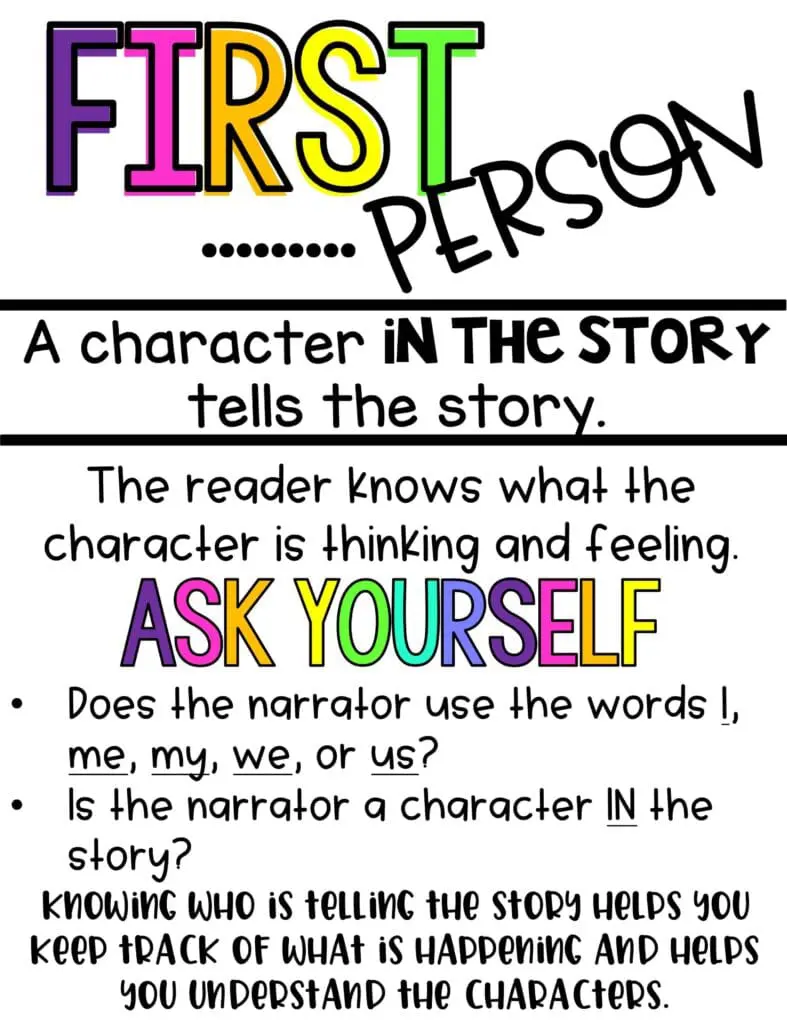
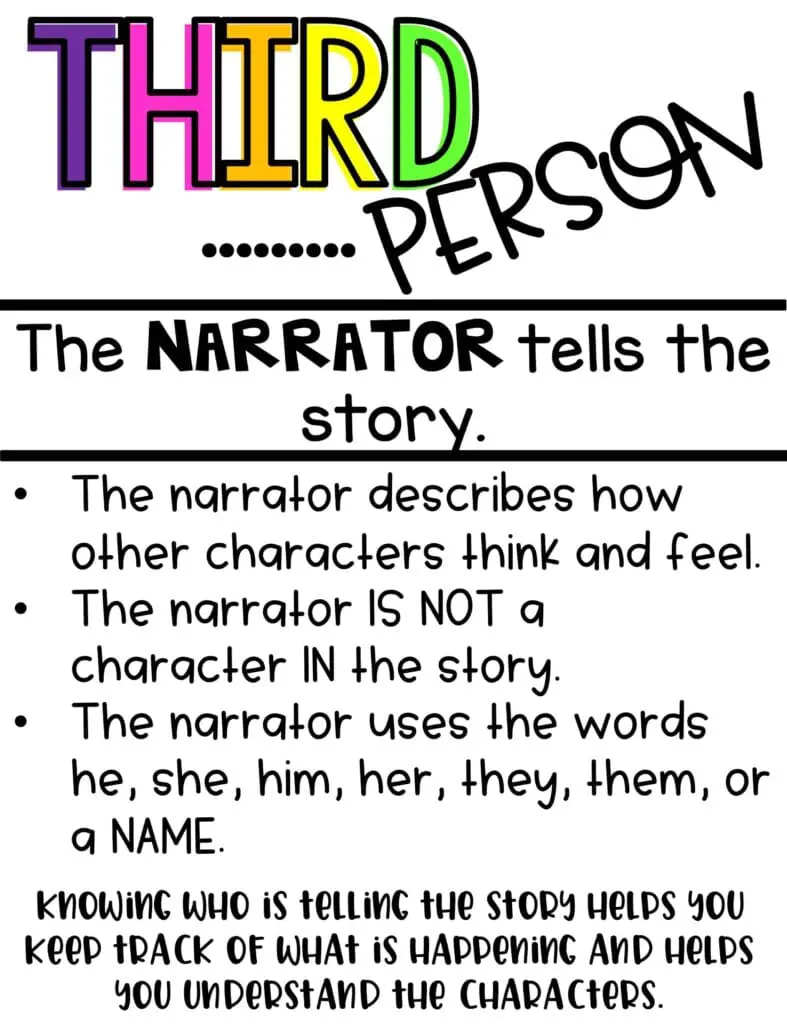
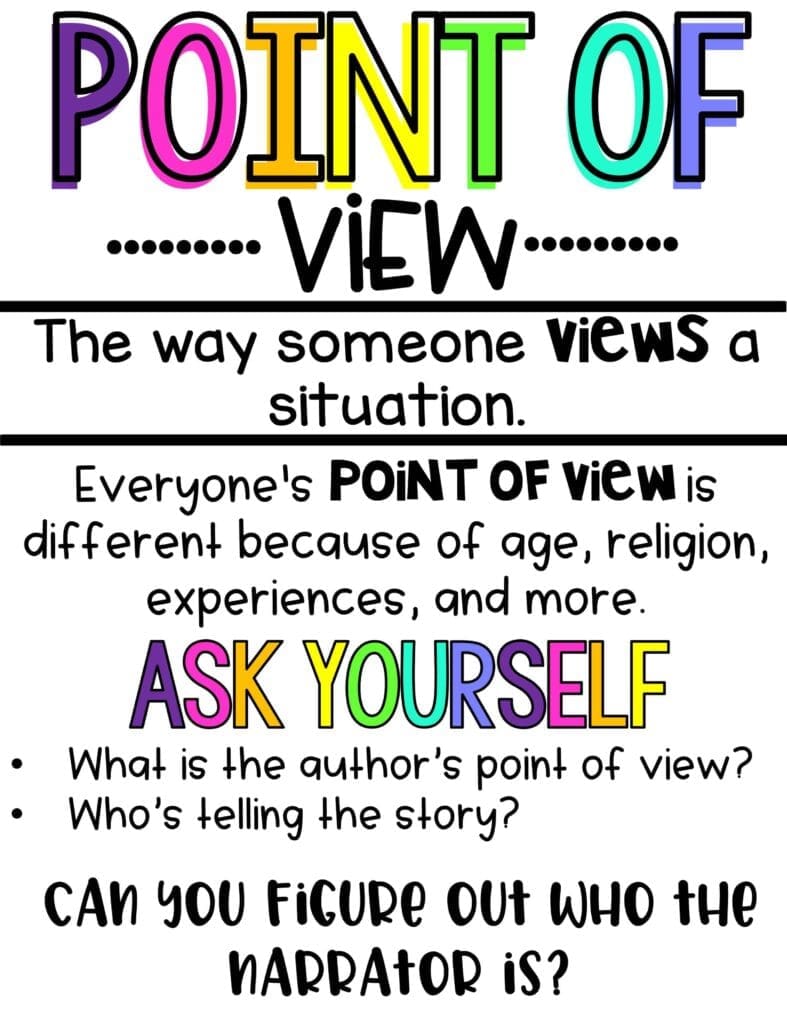
Week two started with a quick mini lesson.. The goal was for my students to identify who is telling a story at various points in a text. (character or narrator?) Normally I make anchor charts with my students… but for this unit I just used the posters that I created with the unit…. Then, I read small excerpts from different stories. My students worked together to tell me who was telling the story.
Here’s the mini lesson and posters that I used…
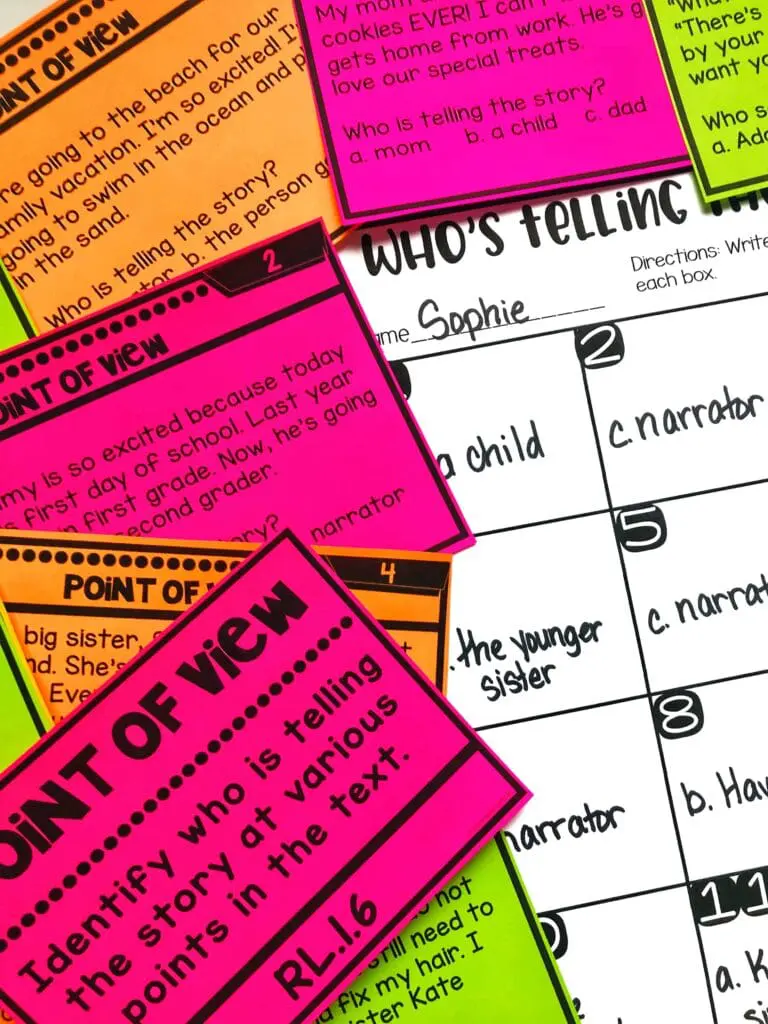
Activity 6 – We practiced figuring out who was telling the story with task cards. I love to hang task cards around the room and let my students move around.
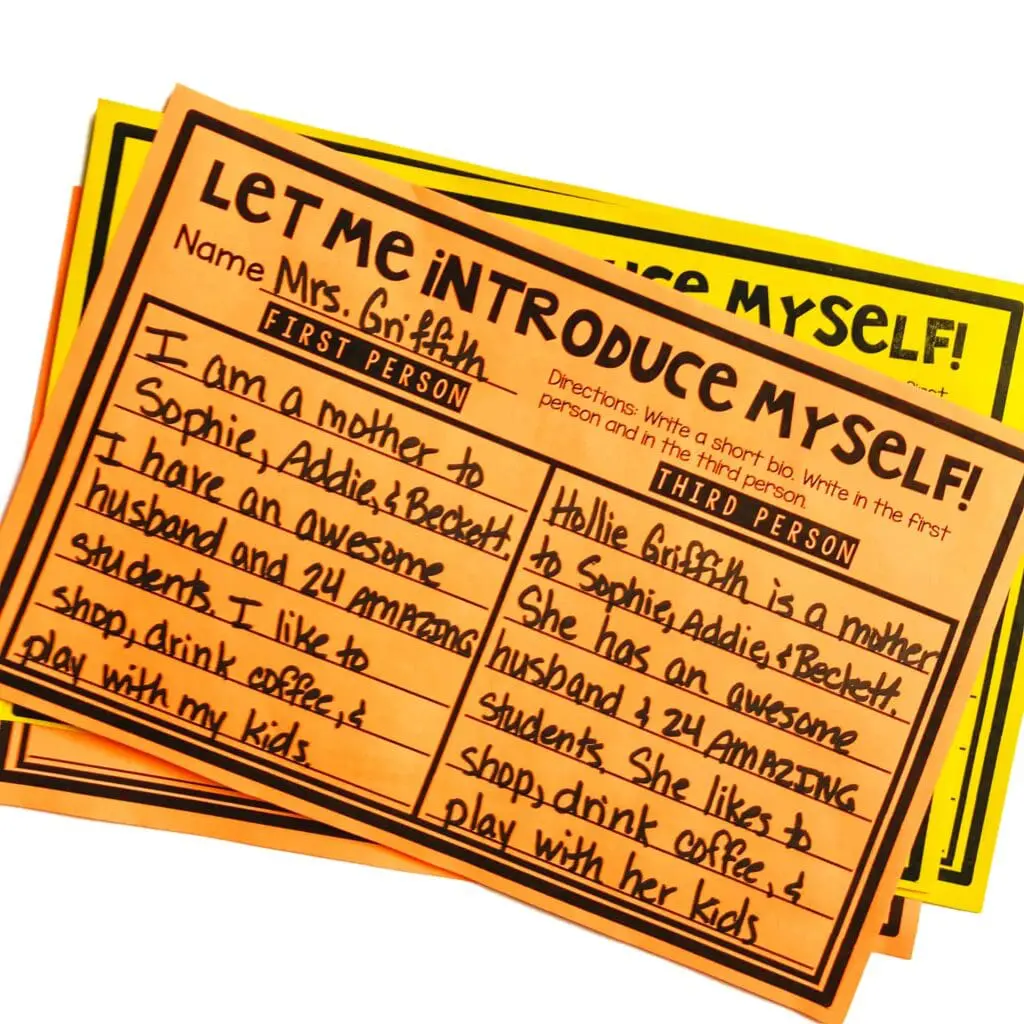
Activity 7 – This was one of my FAVORITES! My students wrote a short bio in the first person and third person. First, I wrote my own bio in front of the class. It got them interested and it gave them an example of what I expected. After reading and correcting all of the bios, I read them aloud to the class. After reading in the first person the class tried to guess who it was… then I read in the third person.
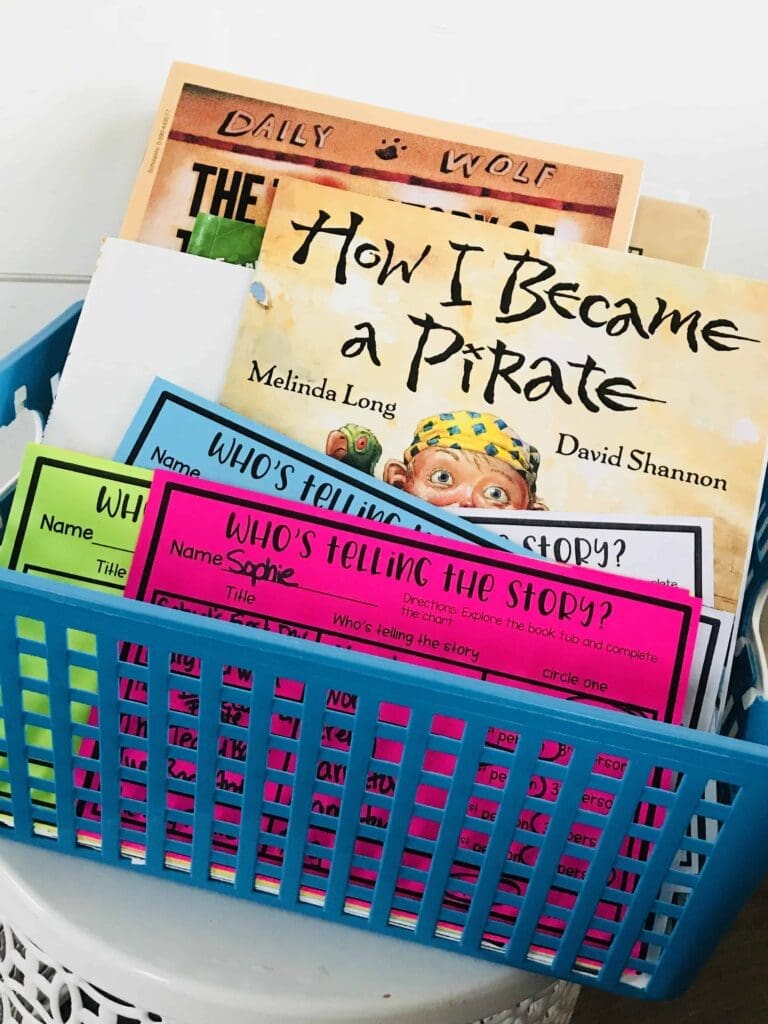
Activity 8 – I put about 10 books in a tub and let my students work together to explore the book and determine who is telling the story. I let my higher reading groups complete this activity when they weren’t with me…
Week three was all about perspective…
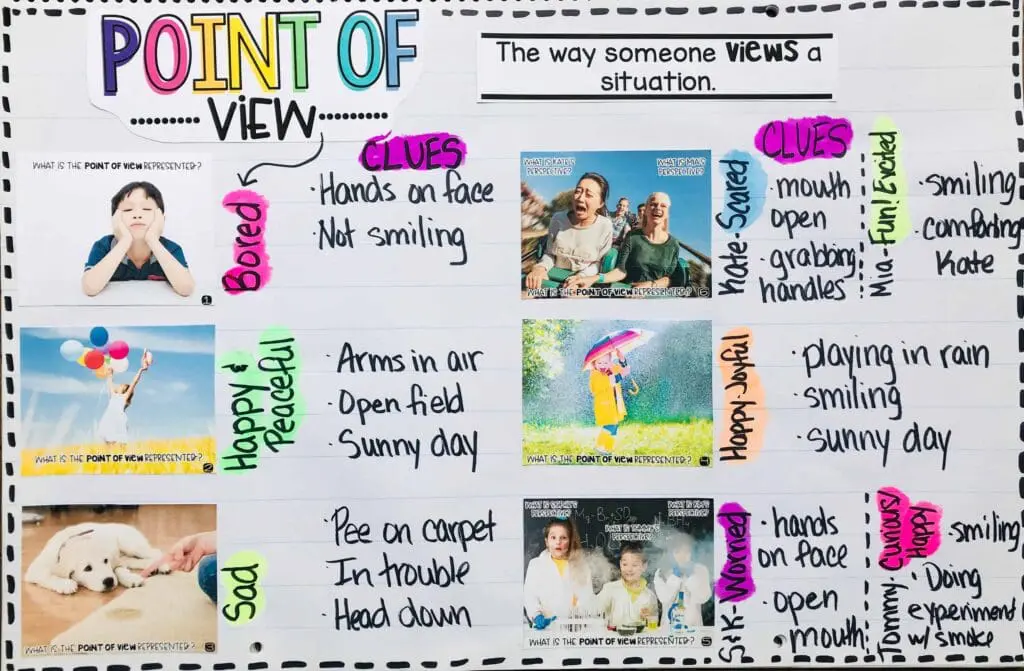
I started by showing my students a PowerPoint presentation… They looked at each photograph and used clues to determine the animal/person’s point of view. Then… I printed the photographs and used them to create an anchor chart.
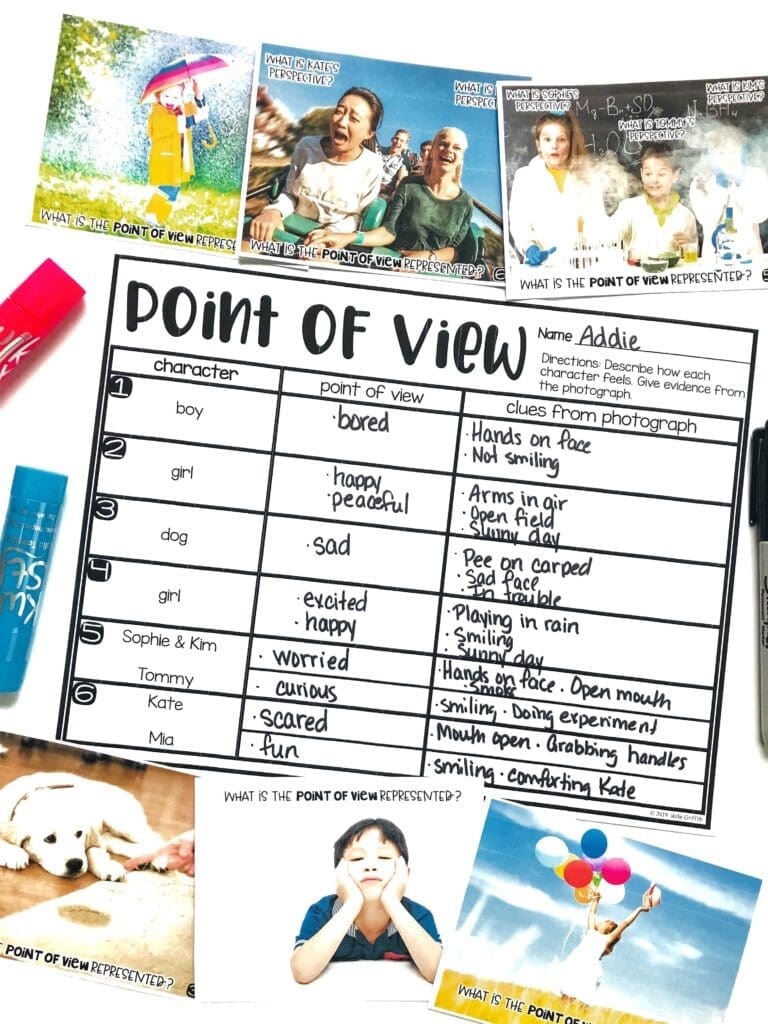
Another option is to print mini posters and let students work in groups…
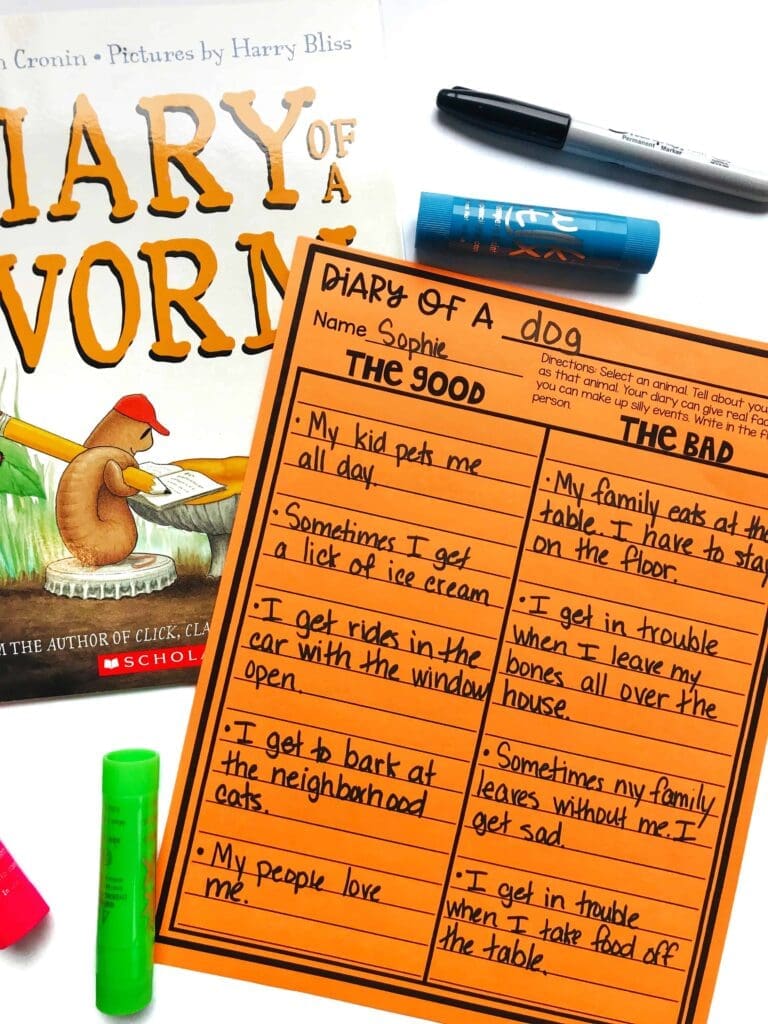
Activity 10 – I read Diary of a Worm… Then, I let my students select an animal and write about the good and bad… This was the perfect activity for getting them to begin to think about two sides of an issue.
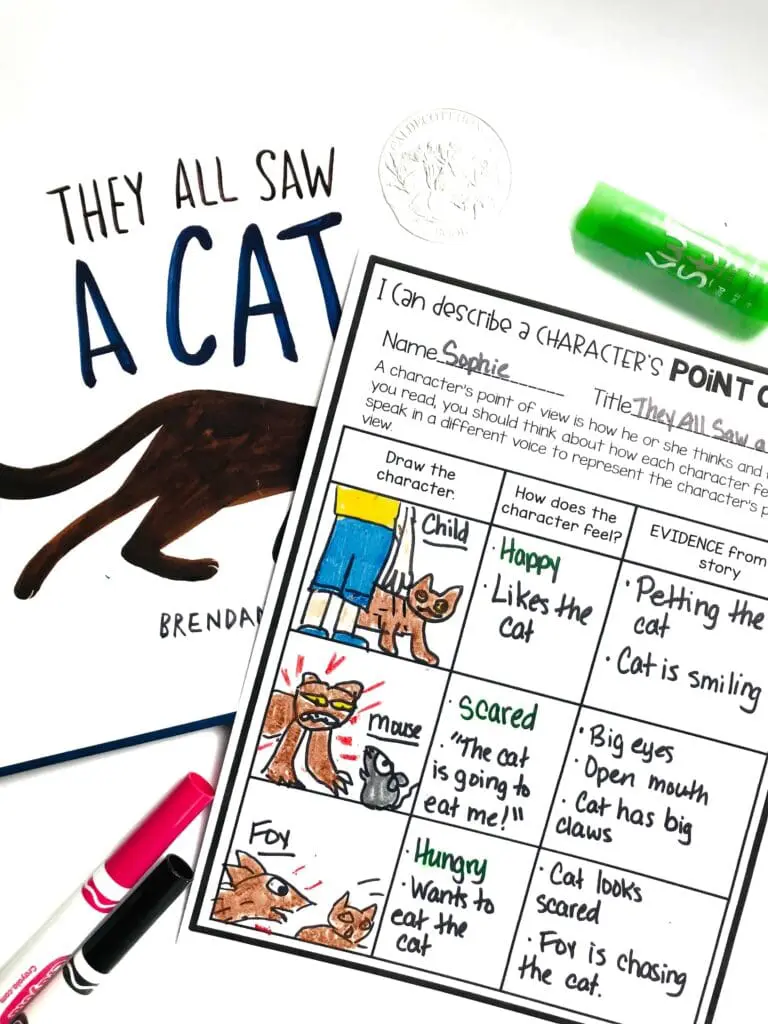
Activity 11 – We did a little practice on perspective… I also read They All Saw a Cat… which is the cutest book ever when introducing point of view…
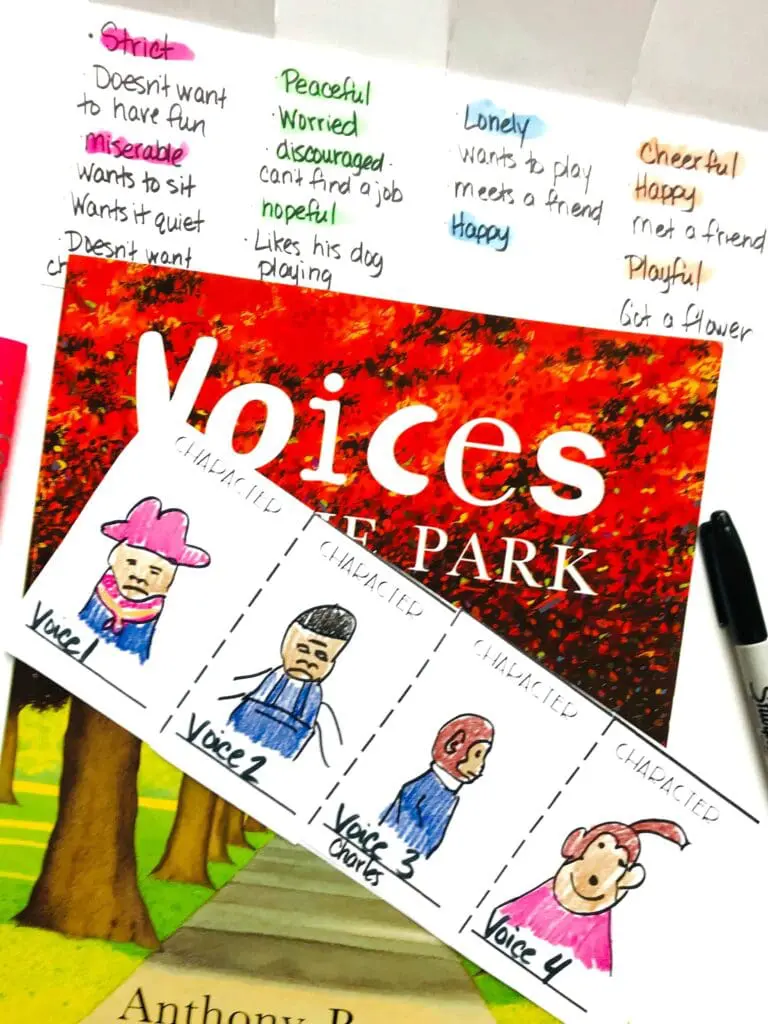
Activity 12 – We read Voices in the Park and compared different perspectives with this FoldOver book..
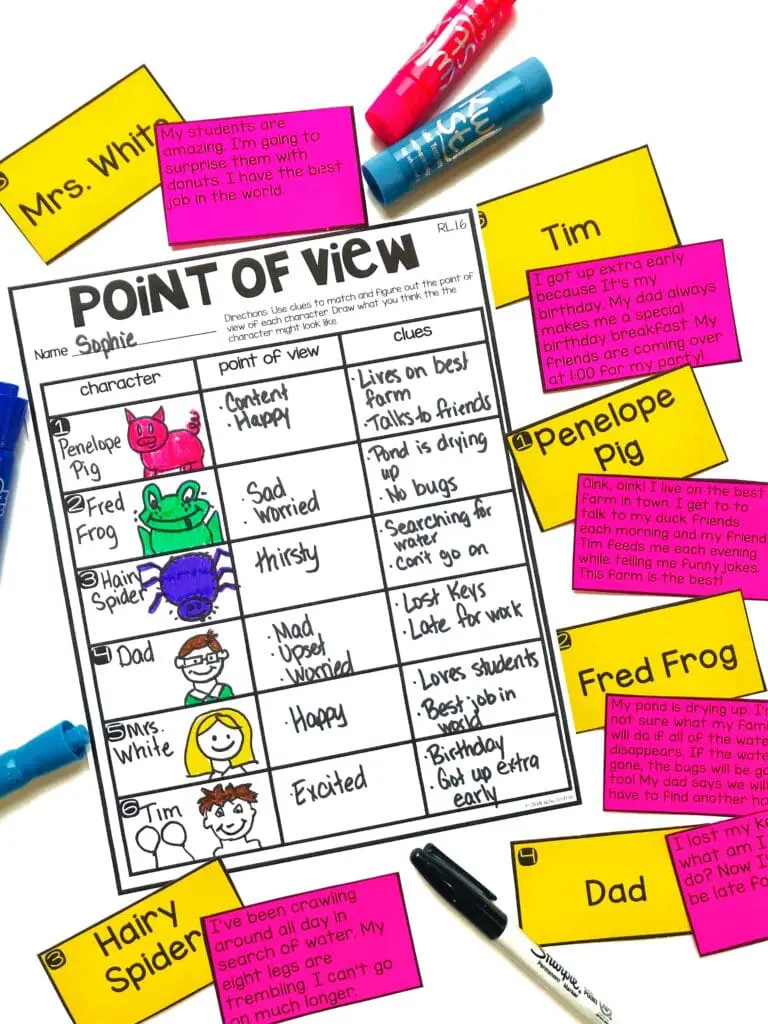
Activity 13 – Then, we played the funnest match up game. My students worked with partners to match and figure out the point of view of each character.
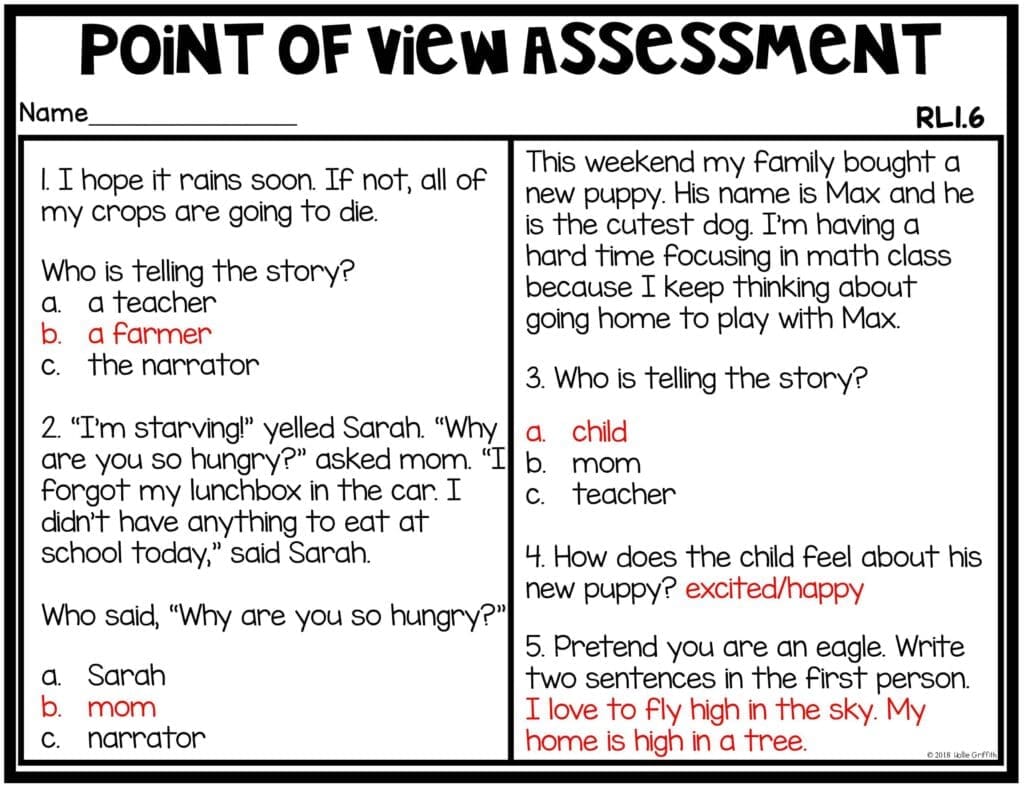
Last but not least… A quick assessment is included…
And there you have it… This might be one of my favorite units yet… You can find it all HERE…
Have a GREAT WEEK!!
-Hollie



0 Comments